
Scribble to Design: AI Image Generation From a Room Sketch (2026 Guide)
Scribble a room, get a photoreal render back. How scribble-to-image AI reads your sketch, how to draw furniture placement onto a real room photo, and which 2026 tools can do it.
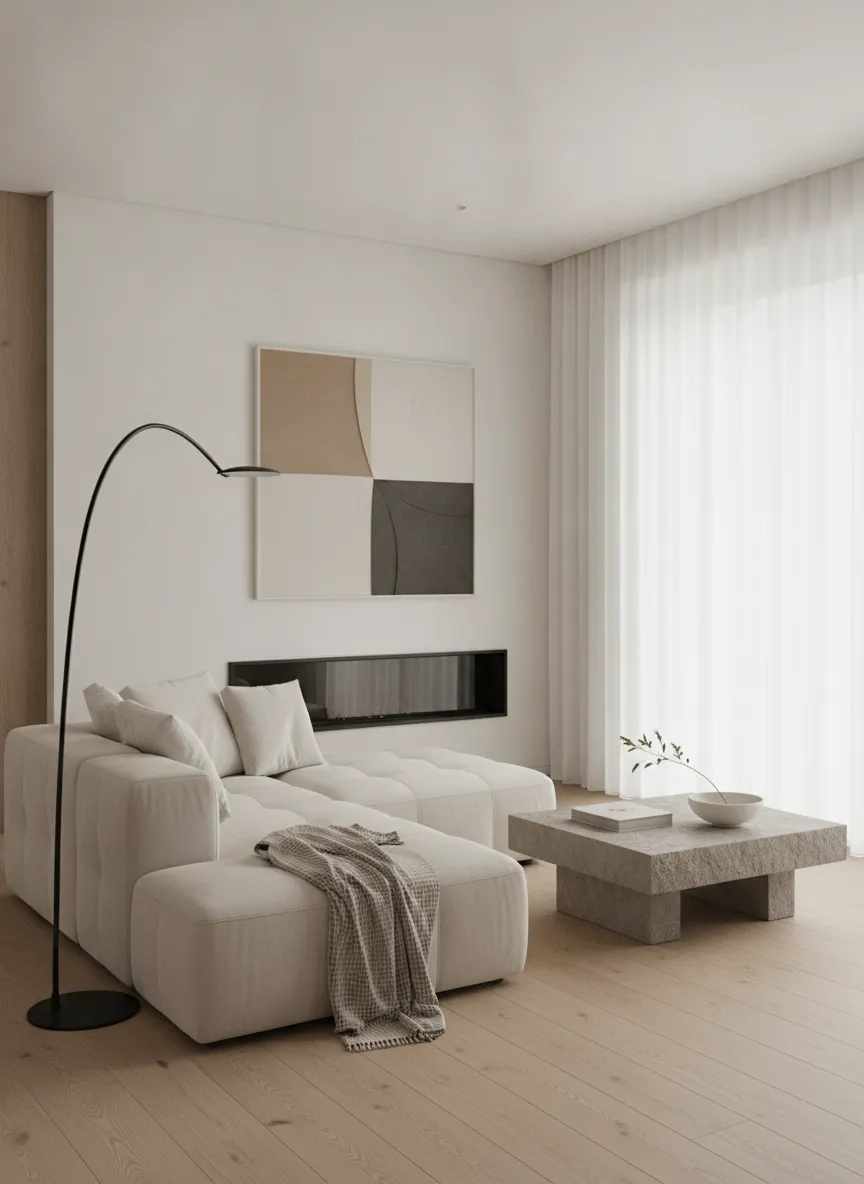
What scribble-to-image AI does
Scribble-to-image is a form of generative AI where a rough drawing guides the image along with the text prompt. You draw the room layout, meaning walls, windows, doors and rough furniture blocks, and the model generates a photorealistic interior that follows your lines. The prompt supplies what the drawing can't: materials, colour, style and light.
It's the fastest way to go from an idea in your head to a picture you can show someone. A thirty-second scribble plus a one-line prompt gives you a room redesign in seconds, and five prompts on the same scribble give you five different designs of the same layout.
Two ways to start: a blank sketch or your own room photo
Most AI interior design sketch tools support one of two inputs. Knowing which one you need saves a lot of trial and error.
- Sketch from scratch: draw the whole room layout on paper, a tablet or in CAD, then generate. Best for rooms that don't exist yet, like extensions, new builds or a full layout change.
- Upload a room photo, then sketch on it: start from a photo of your real room and draw only where the new furniture or feature should go. Best for redesigning a room you already live in.
Sketching furniture placement on a room photo
This is where scribble input earns its keep. Typing 'put a sofa under the window' leaves the AI to guess where and how big. Drawing a rough rectangle under the window tells it exactly.
The workflow in CreateLevel takes four steps:
- Upload a straight-on, evenly lit photo of the room.
- Brush over the area where the new piece should go, roughly the size you want it.
- Describe only that piece, for example 'low oak sideboard, three drawers'.
- Generate. Everything outside your brush stays exactly as it was, so you can move on to the next piece.
Draw less than you think
The first thing people do with a scribble-to-image tool is over-draw. They shade, they hatch, they add texture to the brickwork, they draw the pattern on the rug. Then the render comes back muddy and they conclude the model is weak.
The model usually isn't the problem. A sketch-to-render model reads three things from your drawing: edges, openings and depth. Anything you add beyond those competes with the prompt for control of the output. Tone is the worst offender, because the model reads pencil shading as real shadow and lights the scene around it.
So draw the shapes, and describe the finish in words.
What to put in the drawing
A good input sketch is closer to a floor-plan elevation than to a piece of art. Aim for something you could draw in ninety seconds.
- Closed shapes. A wall with a gap in it reads as a doorway you didn't want.
- Windows and doors, drawn explicitly. They set the scale of everything else.
- One consistent perspective; don't mix a plan view with an elevation.
- Rough furniture blocks. A rectangle for the sofa is enough.
- A ground line, so the model knows where the floor is.
What to leave to the prompt
Material, colour, era, lighting and mood all belong in text, where they are cheap to change. 'Board-formed concrete, low winter sun from the left, warm oak floor' is a better use of your effort than an hour of coloured pencil.
One sketch with five prompts gives you five different designs of the same space. One heavily rendered drawing gives you one.
AI interior design sketch tools in 2026: how they compare
The tools people search for alongside 'scribble to image' fall into two camps. Room planners build an editable 3D model from your sketch or floor plan, which is great for measurements and layout but slower to get to a photoreal image. Image generators go straight from a sketch or photo to a render, which is faster for exploring how a room could look.
- Planner 5D: a room planner. Its AI reads an uploaded floor plan image or sketch and turns it into an editable 2D/3D plan, and it can auto-furnish a room in a chosen style. Pick it when you need a measured layout.
- Homestyler: a room planner with an AI studio. It can turn a 2D plan or rough sketch into an editable 3D model and auto-furnish it, then render the scene. Pick it when you want a 3D model you can keep editing.
- Interior AI: an image generator built around room photos, with a sketch-to-image mode and virtual staging. Pick it for quick restyles of an existing photo.
- REimagineHome: an image generator focused on photo redesign and virtual staging, with sketch input and shoppable product matching. Pick it if you want to buy what you see.
- SketchUp Diffusion (now called AI Render in SketchUp): renders straight from a SketchUp model inside SketchUp, with a slider for how closely the image follows your geometry. Reviewers find the output more stylised than photoreal. Pick it if you already model in SketchUp.
- CreateLevel: an image generator that takes a hand sketch or a room photo, with object-level brushing so you can place or swap one piece of furniture without regenerating the whole room. Pick it for fast scribble-to-render and precise furniture placement.
Paper, tablet or CAD?
All three work, and each fails in its own way. Paper sketches need a flat, evenly lit photo, because a shadow across the page becomes a shadow in the render. Tablet linework is the easiest case: the contrast is perfect and the lines are closed. CAD elevations and SketchUp line exports are the most stable of all, with unambiguous geometry and nothing to interpret.
If the first attempt comes back wrong, fix the input first. Redraw with cleaner edges before you rewrite the description.
Drawing on top of a photo
The other half of scribble-to-design is masking. You draw on the room you already have: brush over the wall you want moved, the fireplace you want gone or the extension you want added, and generate only inside that region.
Most people end up working in this mode because it keeps everything they already liked about the image. Each masked edit moves the design forward, where regenerating from scratch is closer to pulling a slot machine lever.
Watch the demo
Frequently asked questions
- What is scribble to image?
- Scribble to image is an AI technique where a rough hand drawing is used as the structural guide for a generated image. The model follows the edges and openings you drew while inventing material, lighting and detail from your text prompt.
- Can I use scribble interior design AI on an architecture sketch?
- Yes. A clean architecture sketch, such as a floor plan view or a line export from SketchUp or CAD, works as well as a hand scribble, because the openings and proportions are clear. Add the finish in your prompt.
- Which AI tool turns a room sketch into a realistic image?
- Image generators such as CreateLevel, Interior AI and REimagineHome turn a sketch or photo straight into a render. Room planners such as Planner 5D and Homestyler turn a sketch or floor plan into an editable 3D model first. SketchUp Diffusion (AI Render) renders from a SketchUp model. Choose an image generator for speed and a planner when you need measurements.
- Can I upload a room photo and sketch where the furniture should go?
- Yes. In CreateLevel you upload the photo, brush over the spot where the new piece should sit, describe it, and generate. Only the brushed area changes, so the rest of the room stays exactly as photographed.
- Is SketchUp Diffusion good for interior sketches?
- It's convenient if your design already lives in SketchUp, because it renders from inside the model. Reviewers note the output leans stylised rather than photoreal, so many designers use it for early ideas and a dedicated image generator for final visuals.
- Do I need to be able to draw?
- No. Boxes and straight lines are enough, because the model only needs legible geometry.
- Is sketch-to-render accurate enough for construction?
- No. It's a concept visual for exploring and explaining ideas. Structural, dimensional and material decisions still need a qualified professional.
Try it on your own room
Every style unlocked, interior and exterior both included. Plans from $7.
Keep reading
Sketch to Image AI: Scribble, Draw, Render
Sketch to image AI for rooms and buildings: draw a rough scribble and get a photorealistic render back. CreateLevel reads your linework (edges, openings and depth) and keeps your composition.
Interior AI With a Drawing Feature: Sketch, Brush and Redesign Any Room
Most interior AI tools only let you type and hope. With a drawing feature you show the model where things go, and it only touches what you drew.
AI Image Generator From a Photo, Sketch, Drawing or Text: Which Input to Use
Text, photo, sketch, drawing: an AI image generator can start from any of them, and each controls something different. Pick the input that fixes the thing you care about.
Free AI Interior Design Tools in 2026: What the Free Tiers Give You
Twenty of twenty-three platforms advertise a free tier. Fewer than half of those free tiers show you the quality you would be paying for.